Last week we released a super convenient free inventory management template for Excel and Google Sheets - to help you track and analyse your inventory.
And our generosity continues this week, as we demonstrate how to connect a Google Form to the template to help reduce the amount of time you spend entering data.
This guide will give you a clear understanding of how you can easily use and customize a Google Form to interact with a Google Sheet.
Requirements:
- A Google Drive account
- Our free inventory management template (Google Sheets version)
- 5-10 minutes (…yeah, it’s that quick!)
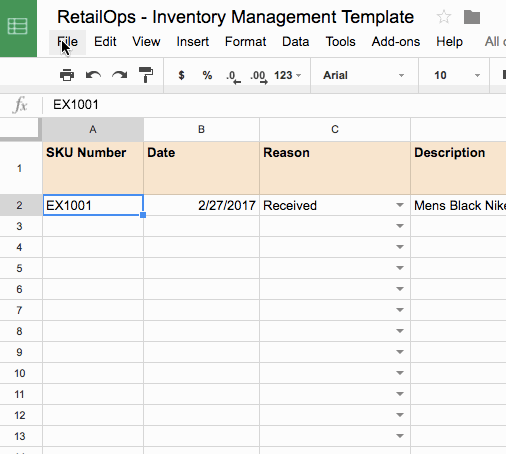
Download this excel inventory management template
Download free templatePart 1: Creating and Linking the Form
Creating and linking a Google Form to the inventory management template is super easy!
- The first thing you need to do is open the link to our Google Sheets template - you’ll find this in the email we sent you after your email address was confirmed.
- Next, make a copy of the template and save it to your Google Drive folder. If you’ve already made a copy of our template you can skip this step.
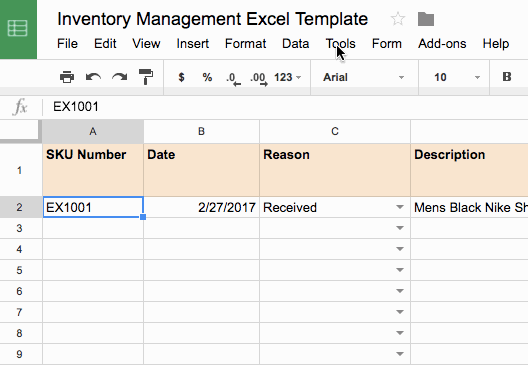
- Finally, you can create and link the form. Just click on ‘Tools’, followed by ‘Create a form’. This will create and link a form to this spreadsheet and all entries will be added to it. I told you it was simple!
Part 2: Adding the Form Fields
In this next step we will add fields to the form. These will have a direct relationship with the Inventory Management spreadsheet.
However, before I dive into this step, I am going to take a quick detour to discuss a very important topic.
Data Management
There’s an old saying: ‘garbage in, garbage out’, meaning that if you are collecting poor data then no matter how much you massage it and try to squeeze it to fit your model, it just won’t work. So if you haven’t started to think and strategize about the data that you are gathering, you need to start now.
So what is good data? Well, that depends on your business, but in our last article I touched on the basics of what metrics almost any business needs to keep track of. And now that you know how to collect good data (manual entry and/or automation) here is how that data can be used:
- With the good data that you are now collecting you can begin leveraging it to see the impact it has on your business. For example, you can use imputed data to automate and systemize metrics like: revenue, cost of goods sold, landing costs of goods (freight, shipping, and so on), cost of revenue (including marketing expenses), date received, and product expiry, among others. The goal: the more granular the better.
- You can also leverage your data to output performance metrics. For example, how long is a SKU sitting on your shelves? Why is that important? Because that’s capital invested, and if your capital is tied up in a product that takes longer to sell than another, you are losing money (all other things being equal). Granted this is a tricky one and may not be easy to dial in in the beginning stages, but getting a head start on it now will make a world of a difference later on.
- Inventory accuracy - this is an audit metric that should be looked at closely and periodically (weekly, monthly or quarterly). Keeping a historical record of all events you can spot check and compare actual vs. recorded. Because the last thing you want is ‘lost inventory’ due to misplacement, theft, incorrect fulfilling, or any other mishap. If you see this number rise, or if it is already pretty high, then you know you have a problem somewhere in your warehouse and it’s time to investigate.
How to add Google Form Fields
Let’s start with some good data management practice, and add some necessary fields to our form. Although don’t get too bogged down on what is necessary for your business - you can always edit and add more information to these forms and spreadsheet at a later stage.
We will start by creating input fields for all the headers on the template:

Note: My labels and the order of the fields may be different than the above headers. This is done intentionally and I’ll explain why for each case.
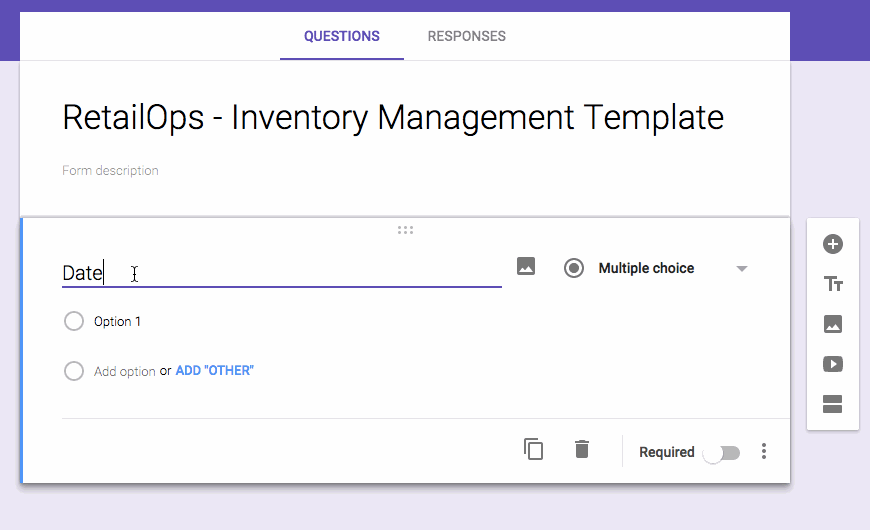
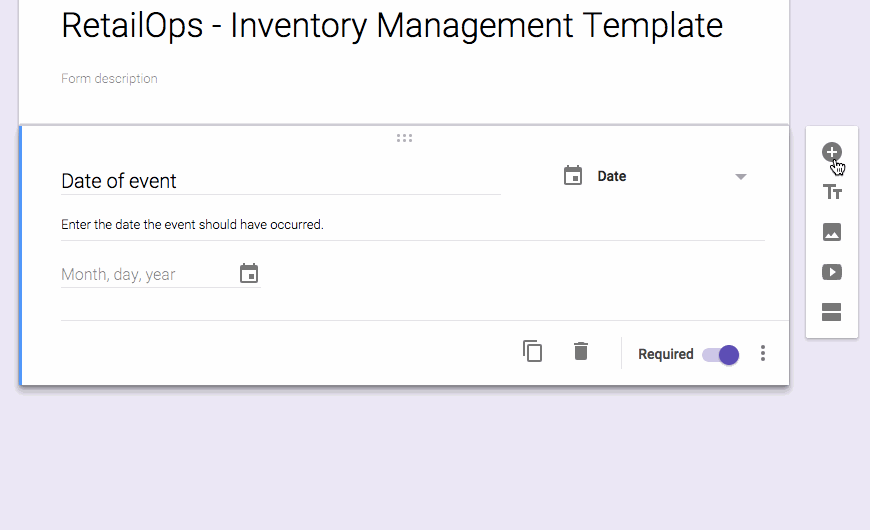
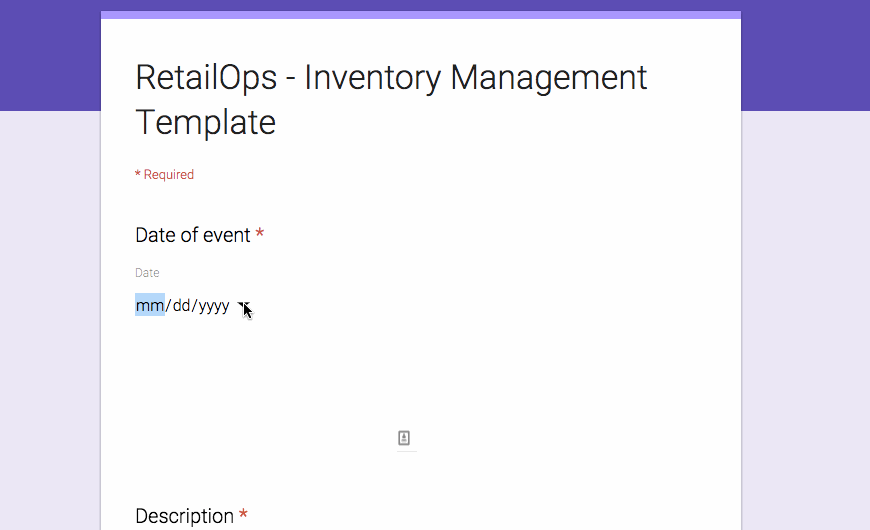
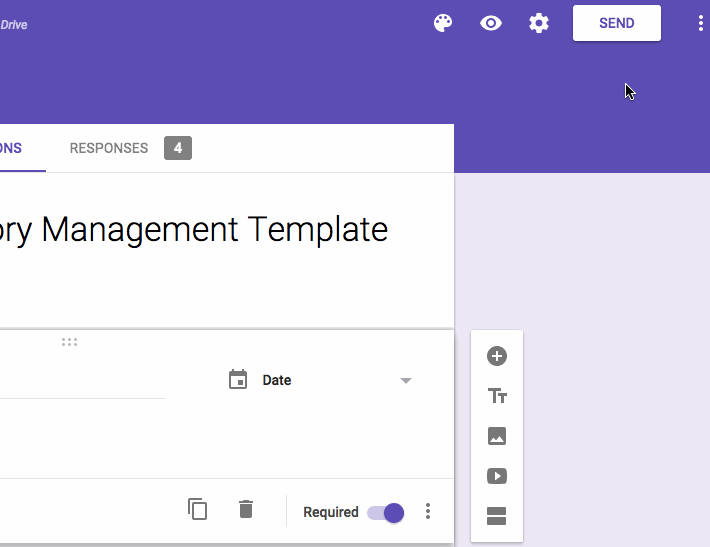
Field 1: Date
The first field I want the inputter to add is the date. The date should reflect when the action SHOULD have taken place. I emphasis ‘should’ because sometimes an event should have been recorded yesterday or the day before, but for whatever reason it wasn’t. This will help keep operations organized.
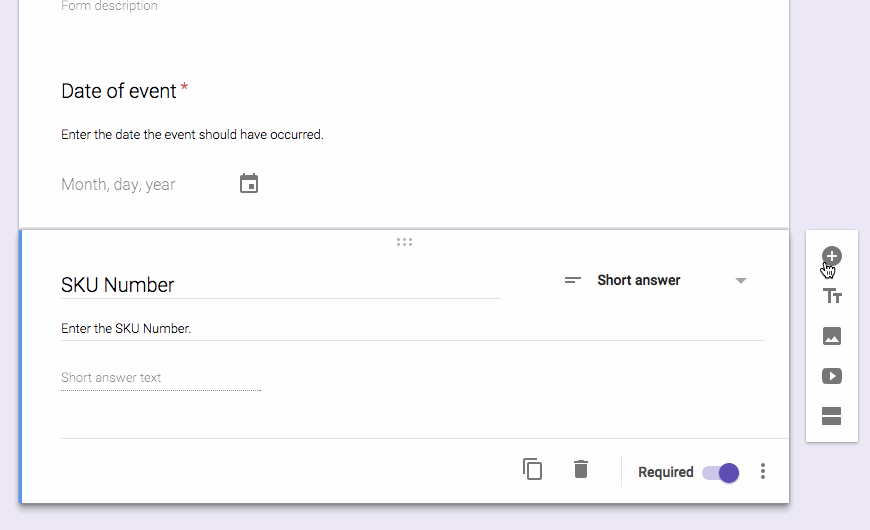
Field 2: SKU Number
A simple one - the SKU number, like most numerical inputs, will be a ‘short answer’ field.
Field 3: Reason / Action
I went with the word ‘action’ instead of ‘reason’ - making it clearer for the inputter that an action had taken place (the item was received in the warehouse, sold, or returned for a refund).
I also go with ‘Dropdown’ as the field type, to remove the possibility of the inputter selecting multiple choices by accident.
Finally:
Naturally there are more fields to add, including the item description, quantity, and cost per unit - you can add these in a similar way.
Once you have created all the necessary fields, your form should look and function something this:
I recommend testing your new form thoroughly and viewing the form submissions. You can delete the test entries once you are satisfied it works.
Customizing the Form Submissions
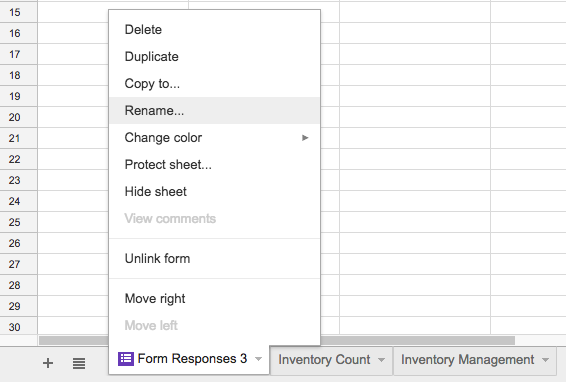
The first thing I want to do is change the name of the label where all the form entries will be sent.
I’m going to label this tab ‘Inventory Management’, since the original tab will no longer be necessary after this.
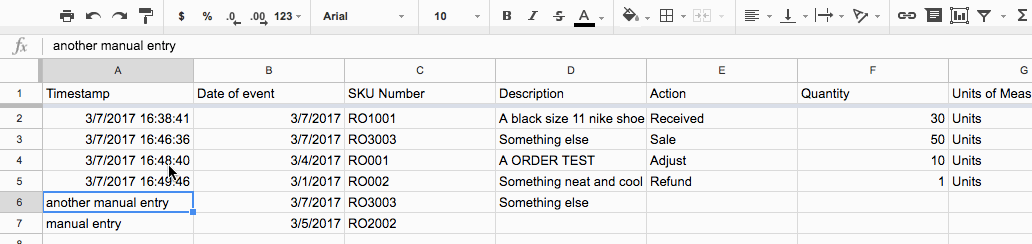
Note: You can still add manual entries and form submissions, and it will still work as it should - AWESOME!
Take note of Column A: ‘Timestamp’. This column will tell you when the form was submitted. This is also why I created the ‘Date of event’ column. Eventually you can create manual audits between when the date of event should have occurred and when it was actually recorded.

Manual entries:
Want to record a manual entry? You certainly have the power to do so. The only field you won’t have available to you (unless you enter it yourself - which is unnecessary in my opinion) is the Timestamp.
But you will quickly notice that once you enter another form submission, your manual entries will get pushed down and possibly out of order.
That’s okay. There’s an easy fix for that - simply click on a column header (in this case I choose ‘date of event’), then click on the ‘Filter’ icon, and sort the entries from A to Z. This will put everything back in order no matter if it was a manual entry or form submission.
This is highlighted in my example below:
Note: You will have to re-sort after every entry. It’s not a perfect solution, but it will get the job done.
And that’s pretty much it! You now have a working Google Form attached to your Inventory Management spreadsheet, allowing anyone to input information.
BONUS: Creating pre-filled out forms
This is one of the most underrated aspects of Google Forms by far! If you are doing a lot of data-entry then you will definitely want to use this tip.
Creating the pre-filled out form
Go back into your Google Form and click on the three vertical dots in the top right hand side of the screen, followed by ‘Get pre-filled link’.
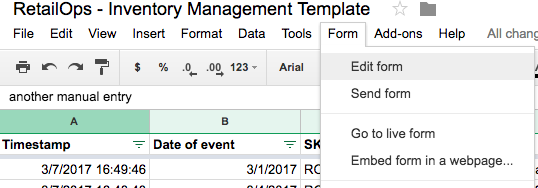
If you accidentally closed the form and are not sure how to get back, fear not - in the Inventory Management spreadsheet, click on ‘Form’ on the top menu, followed by ‘Edit form’.
Next, fill out the necessary information for a pre-filled form. You DO NOT want to input a date and any other information that may change periodically. Use a pre-filled form for data that never changes. For example, receiving, sales, returns, and so on. You can also use it for SKU Numbers if you often get the same ones - this will reduce input errors.
As a general rule, it’s best to have no more than five pre-filled out forms. Any more than that and the inputter may be confused over which one to use.
Once you have the standardized information, click SUBMIT and copy the link they provide you as shown here:

Save this link to your spreadsheet, document, or wherever you need it.
Ta-dah! You’re now a fully fledged Google Form and Sheet master!
Make sure to subscribe to our email list so you can stay up-to-date with actionable tips like those above.
Until next time.